Posted by Ronnie Humphries on 18 January, 2017
|
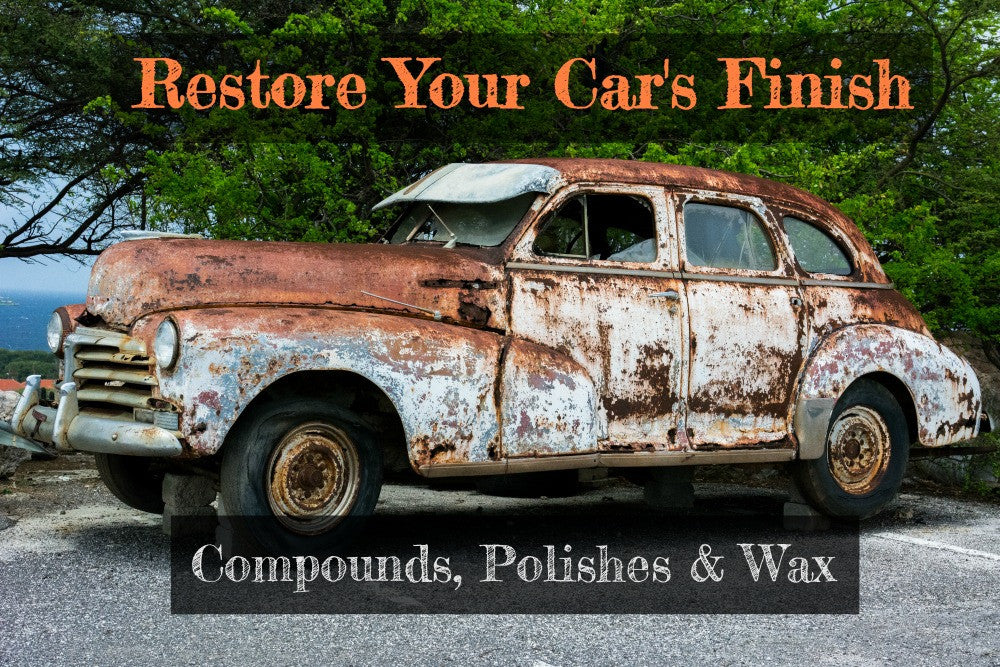
Why Might Need to Restore Your Car's Finish?
Being exposed to the sun causes your vehicle’s painted surface to begin fading. Though today’s clear coats and UV treatments have lessened the amount of oxidation, paint can and will still fad.
The sun, weather, and other contaminants can degrade the top coat, causing a loss in clarity of your vehicle’s painted surface. If allowed to continue, the paint will become dull, losing all of its luster.
Pro Tip: Want to know if you even have a clear coat? Look at the applicator pad when applying a compound, polish, or wax. If it is the color of your vehicle, then you don’t have a clear coat.
How Severe is your Vehicle’s Finish?
Let’s think of your vehicle’s finish as a traffic light. Green is pretty good, with only some mild issues. Yellow will require more attention, but is still easily treated. Red . . . you’re going to be doing a bit of work here.
-
Green: New or used paint with superficial to light scratches and/or surface contaminants.
-
Yellow: Used paint that has light to medium scratches, heavy compound marks, and swirls.
-
Red: Used paint with heavy scratches, defects, and blemishes.
Prep the Surface: All Conditions
Before you begin compounding or polishing your car’s paint, always clay the surface using Clay Magic.
Clay Magic is used after the vehicle is washed, and picks up any contaminants that have attached to the paint. These contaminants will stick to the clay’s surface, leaving the vehicle’s finish ready to be waxed, polished, or compounded.
Pro Tip: Always use a quality lubricant when claying a vehicle, this ensures the clay will glide smoothly over the vehicles finish. Inspect and knead the clay often to avoid scratches.
Green
Polish the surface of the vehicle with a variable-speed orbital buffer, using a lightly abrasive polish.
Ensure that the polishing pad is centered on the buffer’s backing plate. Also, don’t overload the pads with too much product.
Polish small sections at a time, (think a square the length and width of your forearm). Overlap the sections to ensure complete coverage, and finish the entire body panel. Repeat for each body panel.
Pro Tip: Remove any excess product with Clay Magic and lubricant.
Yellow
Following the same steps above, you’ll start out with a medium abrasive compound.
Compound the entire vehicle with the lightly abrasive product. Remember to remove excess product as you complete each body panel.
Once finished, you will then repeat the process with the lightly abrasive polish. Just as with the Green finish, you’ll go over all the painted surfaces of your vehicle’s finish.
Pro Tip: Don’t turn the polisher/buffer on until the pad is on directly on the paint.
Red
Same as before, except with a third step. You’ll begin the process with a heavier compound. Once done, you’ll repeat the process with the medium and then light polish.
Pro Tip: To avoid burnt edges, spray Xtreme Shine in the jambs and crevices prior to polishing.
Troubleshooting Advice
Here are some common problems that we face when compounding/polishing a vehicle’s surface . . . and how to remedy them.
Swirl Marks
-
Use a foam polishing pad to polish paint with a polisher.
-
Apply a wax with an orbital polisher, or by hand.
-
Use the least aggressive polish for the job at hand.
Spider Webbing in the Paint
-
Mist the surface with Xtreme Shine to keep the dust and dried wax from scratching the paint.
-
Always clean wash mitts prior to washing.
-
Ensure your chamois and/or microfiber towel is clean.
Pro Tip: Rotate towel and mist surface with a spray lubricant to avoid was dusting.


Comments